Suppose one morning you wake up and decide to make oatmeal. Let's also assume that you use good old-fashioned, rolled oats. None of those instant or quick oats, please (we'll explain in a bit). Suppose, also, that you a lot left over...like say, 12 ounces of cooked oats. Now, what are you going to do with that? Save it for several more portions of oatmeal? That's a possibility. But let me suggest something different: oat bread.
Now, I will fully admit that Steph and I are true fans of Alton Brown - I would label myself in the "Briner" category...look that up, in case you're wondering. The recipe that follows is our first attempt at a recipe of AB's that recently aired, Oat Cuisine II. How was it? Read, and follow along on this particular culinary journey.
Recipe: Oat Bread
Ingredients:
12 ounces cook rolled oats
2 Tablespoons agave nectar
1 Tablespoon olive oil, plus extra for bowl and pan
1/4 cup warm water
11 ounces bread flour, plus extra for dusting
1 teaspoon salt
1 envelope dry active yeast
1/4 cup uncooked rolled oats, plus 1 tablespoon rolled oats, divided
1 egg yolk
1 Tablespoon water
Let's prep this dish as though we had every intention of cooking it from the start, as opposed to making due with leftover oatmeal (which, I will note, is equally viable...depending on what exactly you put into your oatmeal).
So, in a large bowl, you'll want to combine 11 ounces of bread flour (by weight, of course), a packet of dry active yeast, 1/4 cup of rolled oats, and 1 teaspoon of kosher salt, such as the following mixture:
This will be our dry team. Now, let's also prep our wet team. That'll be 2 tablespoons of agave nectar (this is a rather delectable, honey-like sweetener made from the agave plant [yes, the same plant true tequila is made from]. Where can you find it? Well, certainly any health food store, and almost every market in Chicago that I've seen has it somewhere, usually close to where they keep things like honey. It's as cheap as honey, so, if you're really penny pinching, why not buy a bottle of agave nectar instead of honey? Try it out. Or, you could substitute honey for the agave nectar in this recipe), 1 tablespoon of olive oil, and 1/4 cup of warm water:
Once you have that assembled, you're going to want to cook 12 ounces of rolled oats on the stove top, according to package directions. Why rolled oats? Well, they stand up a lot better to cooking and manipulation. See, instant and quick oats are chopped before they're rolled, creating thinner and thinner strips that really just fall apart when they're cooked...the texture is not great.
Anyway, you might want to try to have somewhere between 7 and 9 ounces of rolled oats, before you add water, to create 12 ounces of cooked oats (season with a pinch of kosher salt, of course!). It's likely you'll have leftovers, but hey...now you've got a bowl of oatmeal! Awesome!
So, our cooked oats:
And our leftovers:
So, measure out 12 ounces of the cooked oats, and add the wet team:
Stir together a bit, just to get everything coated, and then start slowly adding the dry team, in about three batches. Here's batch one:
Mix together with each addition, and you'll end up with a very, very sticky dough about like this:
When you've got that, take some bread flour and lightly flour a work surface. Turn the dough out onto the surface and knead for a full 10 minutes. A quick aside: one of the first times I ever made pasta by hand, I kind of skipped this step. It's not that I didn't knead it at all, I just kneaded it for a few minutes. I didn't understand all the stuff going on with the formation of gluten and other structural changes: I just thought this step was about incorporation of ingredients when they got too stiff to mix with a whisk or spoon. I thought it looked pretty well incorporated, so I went about the rest of the recipe and ended up with pasta that was just awful...it had no structure, and you couldn't do anything with it. So...the kneading is quite essential: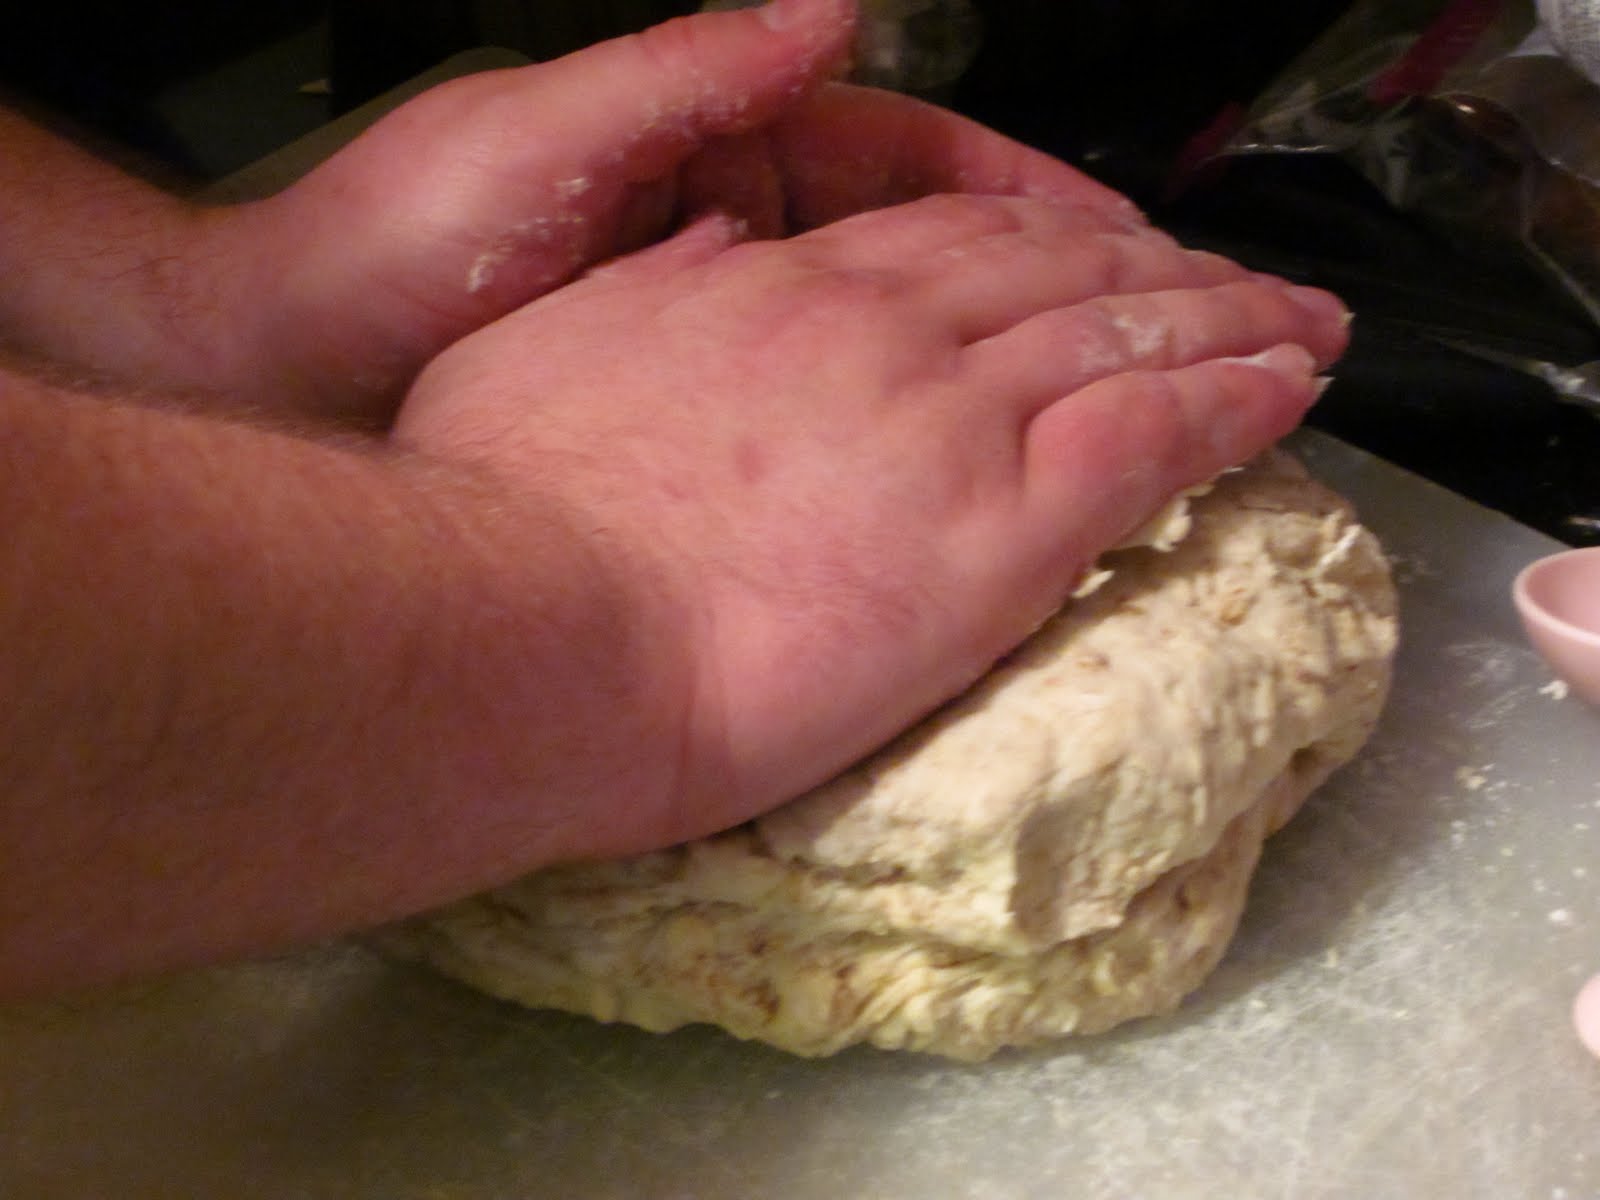
Once you've kneaded the dough, lightly oil a large canister or bowl and toss the dough in. Roll it around a bit to get a bit of a coating around the dough and then cover with a tea towel and let it sit in a dark, warm place for a full hour, or until it has doubled in volume. This will incorporate some good structure and development, which is always nice...as well as boosting a lot of flavor. You'll be able to smell a bit of the yeasty/bread smell if you get close to it. That's how you know it's working.
When the dough has risen, turn it out of the bowl/container and punch it down and then form it into a loaf and drop it into a lightly-oiled 9 inch by 5 inch loaf pan. Cover it with plastic wrap and put it in the fridge overnight, or full a full eight hours.
A note on this: a lot of bread recipes call for a short second rise at a regular temperature. This recipe, and one of the many reasons I love AB's recipes, calls for a long, slow rise in the fridge. I personally find that it creates a better overall texture and taste in the end.
After that eight hours/overnight period is over, you can take it out of the fridge, and you should be rewarded with something that looks roughly like this:
At this point, you'll want to prepare an egg wash. Take one egg yolk and one tablespoon of water. Mix that together well, and brush it along the top of the loaf. Take one more tablespoon of uncooked oats and sprinkle it along the top of the loaf, finally producing something like this:
Put that into a 350 degree oven for 55 minutes to an hour, or until the internal temperature of the loaf reaches 210 degrees. An instant read thermometer is hugely helpful for this. You should be rewarded with a loaf of bread looking basically like this:
You'll want to turn the loaf out onto a cooling rack and let it cool for at least 30 minutes before you slice into it. This will allow it to stabilize and cool enough to eat, which is always good. Why turn it out onto a wire rack? Well, it gets it away from the residual heat of the pan, and the bonus of a wire rack is that it allows even flow of air even under the loaf, instead of just across the top and sides. Anyway, after 30 minutes feel free to slice to your pleasure:
How does it taste? One word: Delectable. In another word: Scrumtrilescant. It's soft, with just a bit of a crunch. The oats on top provide a nice contrast of flavor, while the oatmeal in the dough itself very nicely dissolves and is imperceptible except for the wonderful taste.
The only real note I would make about this recipe is that you're going to want to make sure the oatmeal still has some moisture in it before you start mixing the flour in. I'm not saying you should make soupy oatmeal, or that it should be soaking, but I know I made the oatmeal a little dry and had to add a bit of warm water to the dough to get it to come together. Not too much, but a little bit. Otherwise, this one worked out perfectly. I highly recommend it!
Next up? Maybe some bar philosophy, and then perhaps getting into the quest for the perfect Long Island Iced Tea - definitely not my favorite drink, and rather bloated, I feel, but it's handy for a lot of other tips in bar-tending general.
Tuesday, October 26, 2010
Recipe: Oat Bread
![]()
![]()
Subscribe to:
Post Comments (Atom)


1 comment:
A very informative recipe post, oat bread is good for health, will try the recipe soon.
Post a Comment